
Requirements
- Connection to Stabi Berlin Wi-Fi network (WLAN-SBB)
- A Copy card, with sufficient print credit
- Administrator privileges on the laptop
- The printer driver file: RICOH_IM_C3000_C3500_C4500_LIO_1.7.0.0.dmg
Installation of the printer driver
1. Open the downloaded ‘RICOH_IM_C3000_C3500_C4500_LIO_1.7.0.0.dmg’ file by double-clicking it. A new window will open:
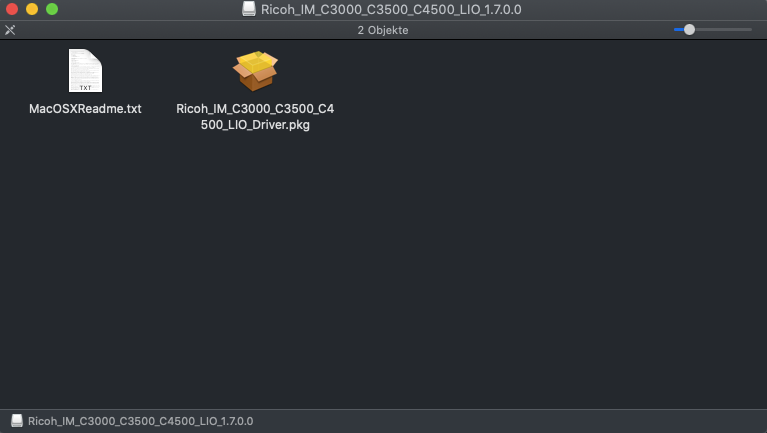
2. Double-click the ‘RICOH_IM_C3000_C3500_C4500_LIO_Driver.pkg’ file.
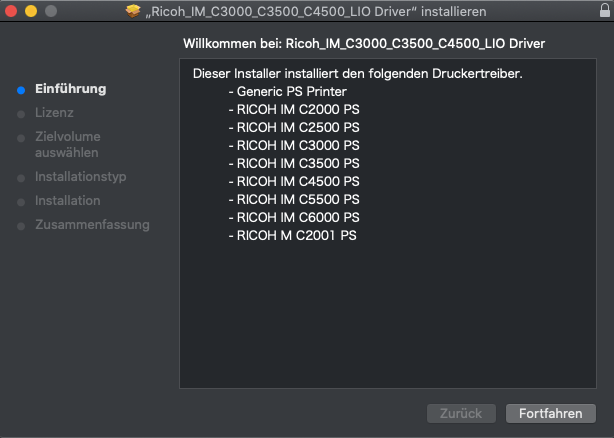
3. Click ‘Continue’ to start the installation:
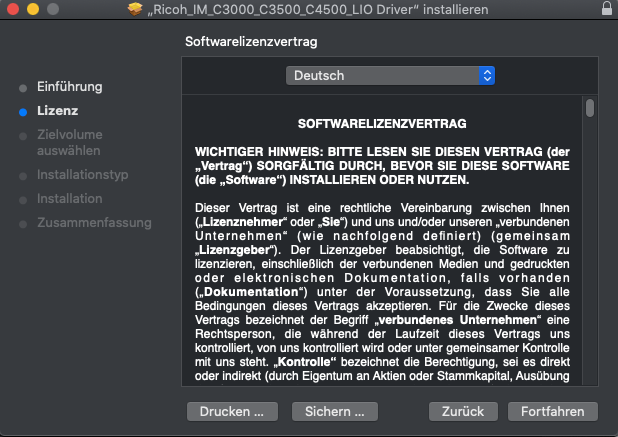
4. Click ‘Continue’ and then ‘Agree’ to accept the licence agreement:
5. Click “Install”

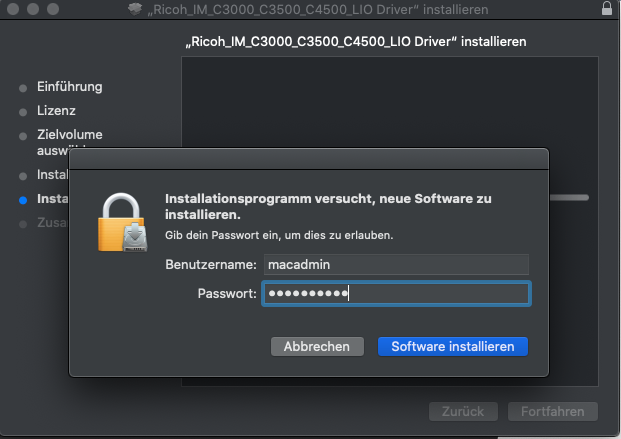
6. Enter the credentials for an administrator account on your device, then click ‘Install Software’.

The printer driver is now installed. Before you can use it, you need to set up the printer with CUPS.
Setting up the printer with CUPS
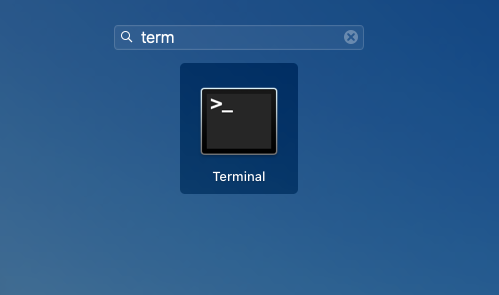
1. Open the Terminal application, for example by searching for it in Launchpad:

2. A command-line window will open. Run the following command:
sudo cupsctl WebInterface=yes3. Confirm by entering your password.
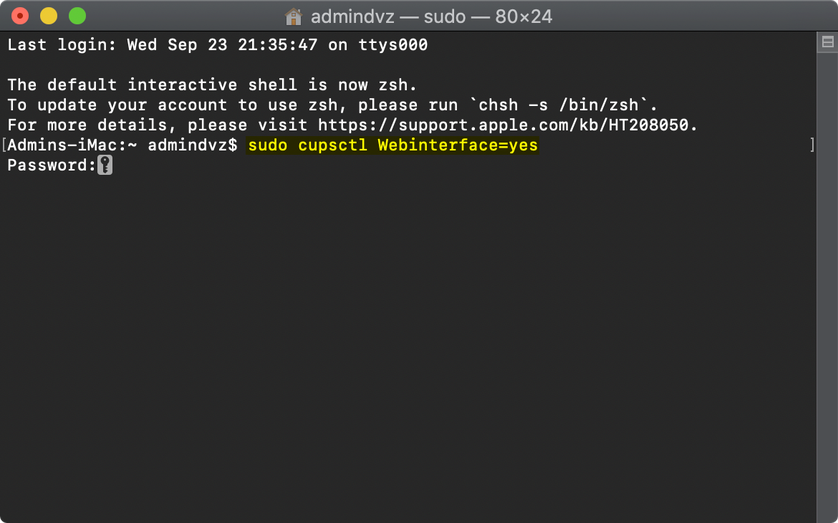
4. You can close the window after that.
5. Open the following address in any browser: 127.0.0.1:631
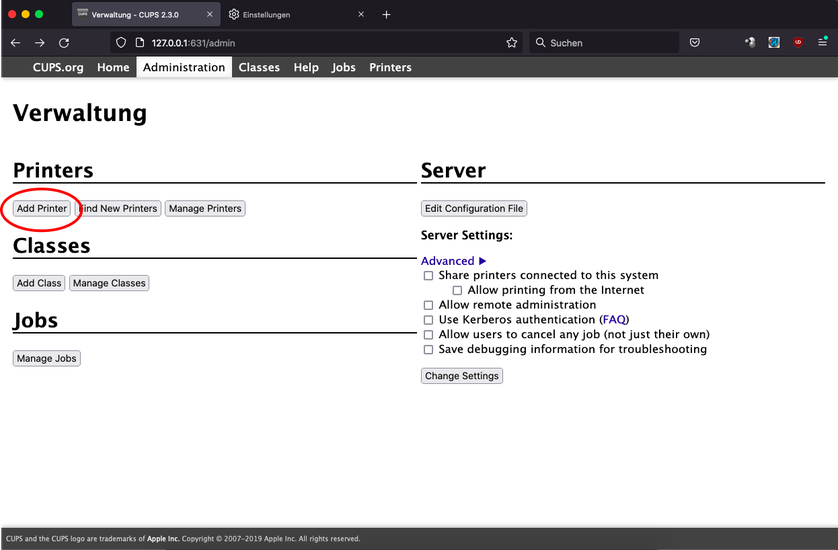
6. Select “Administration” from the top menu.
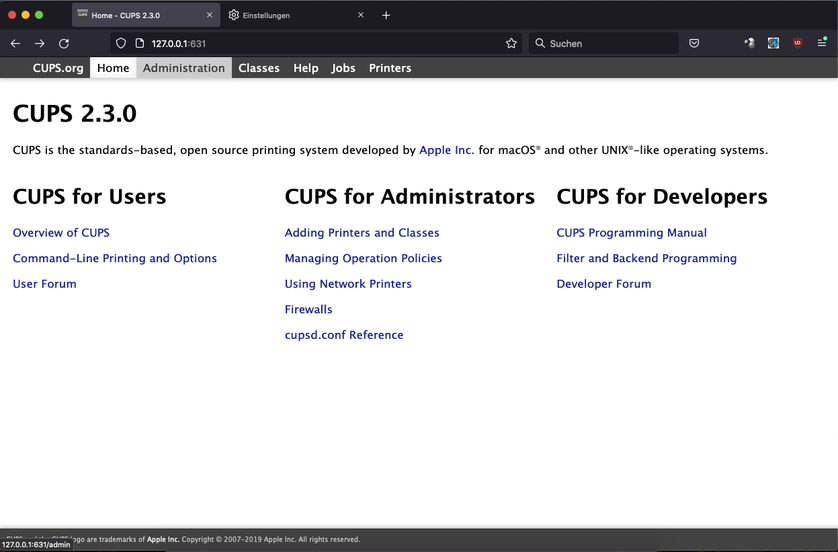
7. A new view appears:
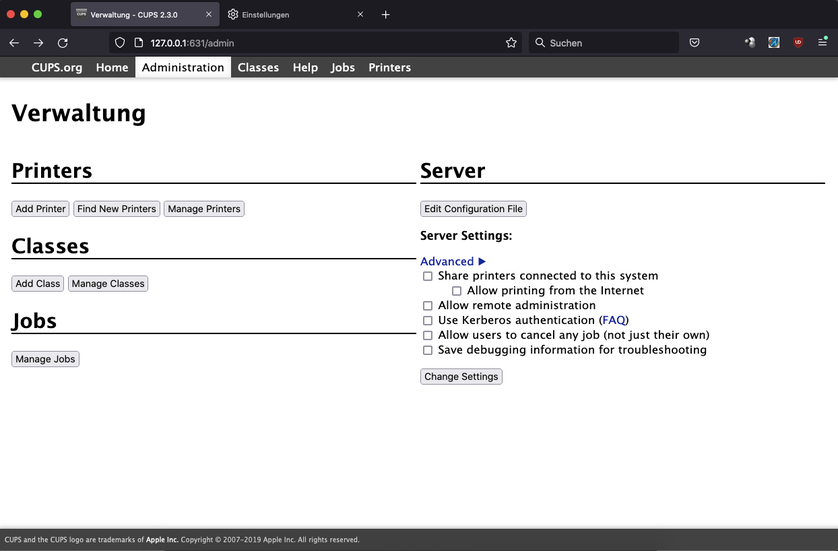
8. Select “Add Printer”.
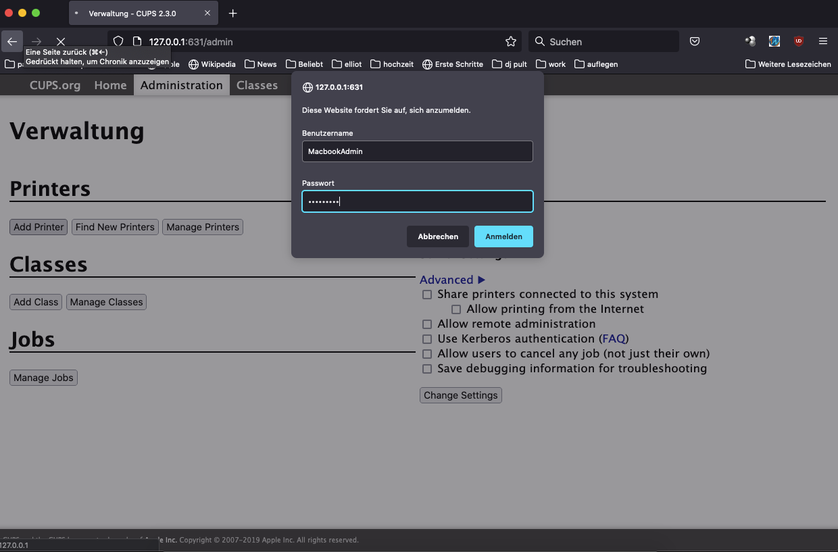
9. You will be asked to log in using the administrator credentials for your laptop.
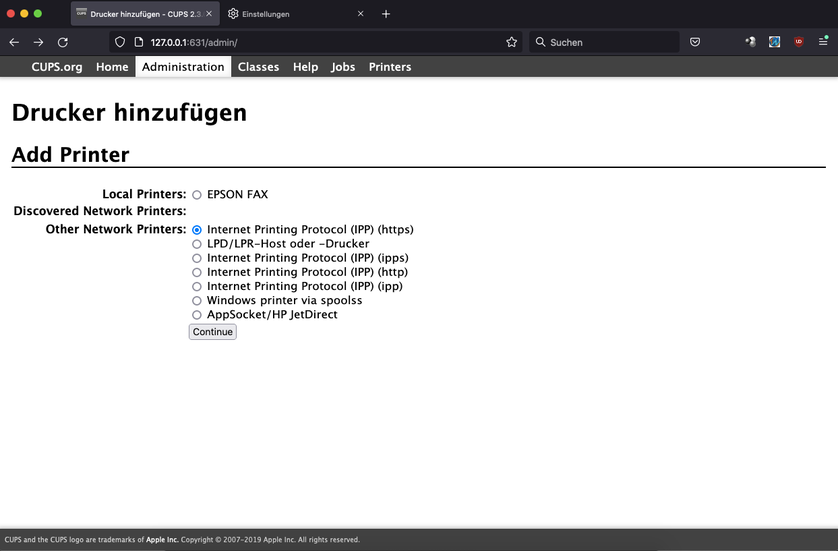
10. The ‘Add Printer’ page will appear.
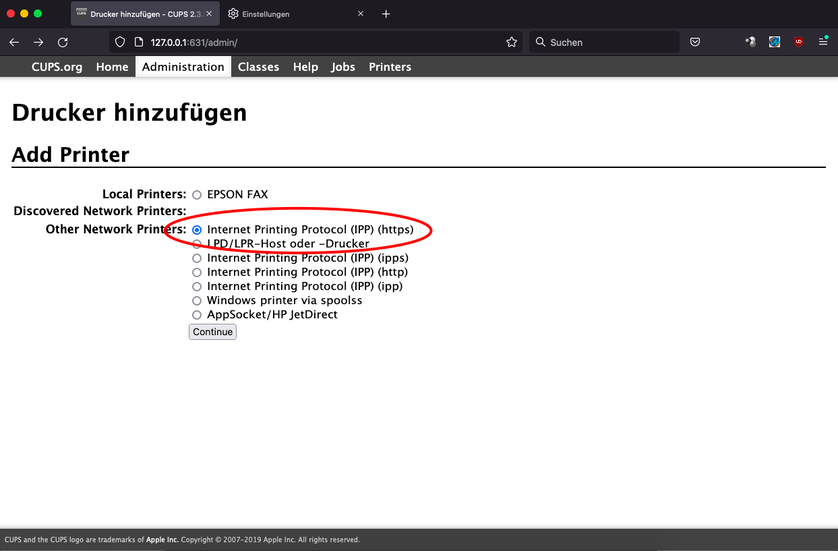
11. Select “Internet Printing Protocol (https)” and click “Continue”.
12. You will now be asked to enter the printer URL. Enter the following: https://inpas.sbb.spk-berlin.de:631/printers/inpas-ps
13. Then click “Continue”.
14. Choose any name for the new printer, then click “Continue”.
15. On the next page, choose a driver. Under ‘Make’, select ‘RICOH’, then click ‘Add Printer’.
16. Select ‘RICOH IM C3000 PS’, then click ‘Add Printer’.
17. Open the “General” menu.
18. Set the Media Size to A4
19. Open the “User Authentication” menu.
20. Open the drop-down next to “Enter login user name” and move down one entry. A text field will appear. Important: if you still have an old blue SBB library card (see illustration), enter its library card number here. Otherwise, use a black-and-white BiblioCopy copy card and enter the number printed on it. Leave the password set to “None”.
21. Click ‘Set Default Options’.
Printer configuration
22. Different macOS applications interact with the printer in different ways. You therefore need to create a preset profile for it. You can use LibreOffice or Word, for example, for the configuration.
Configuration guide: http://support.ricoh.com/bb_v1oi/pub_e/oi_view/0001082/0001082142/view/p…
The setup is now complete.